me: Make your own bagels.
you: Do what?
me: MAKE YOUR OWN BAGELS!
Really, it’s not that hard. I thought it was, but it’s not! Most of the things that we think are too difficult for us in this world really are not. The hard part is beginning, and then reminding yourself that you’ve “got this.” You can handle this. You, my friend, can make a bagel. Or run a company. Or move to another country. Or raise your kids with gusto. Or make that decision. Or get that job.
For almost a decade here in South Africa we have been living a bagel-less existence because I just assumed, if nobody makes ’em, you can’t have em… and then it hit me, I’m somebody! I can make them! Burundi looks a little bleak at times, dear people, with its scarcity of ingredients (No cinnamon, no oatmeal, no cocoa powder, no dry dog food… the list goes on. Not that I plan on eating dry dog food, but I’m sure my dog does, and it looks like she’s coming with us). Now that I know I can make bagels, my spirits are up because breakfast is saved.
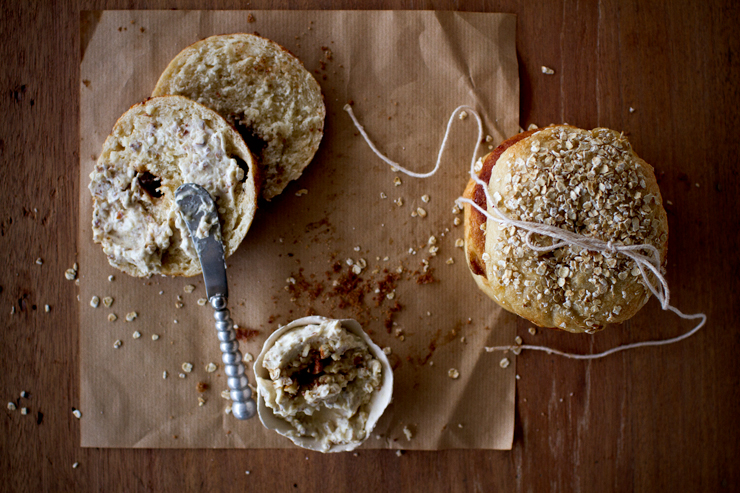
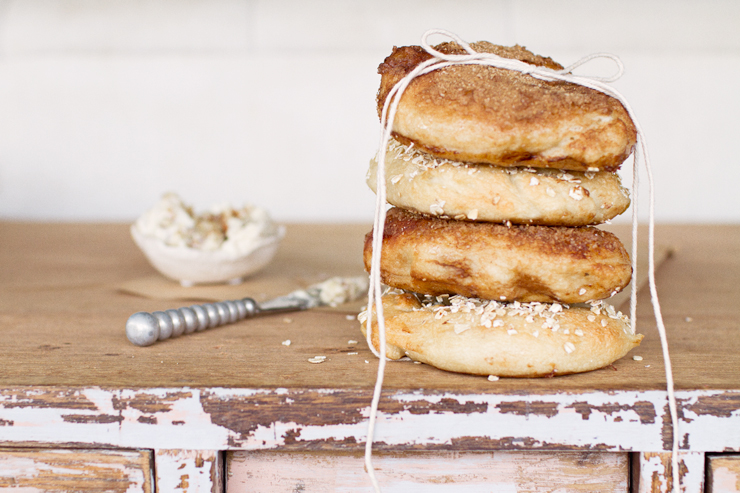
I made a cinnamon sugar version and an oatmeal version, but the opportunities here really are endless. I will warn you that you do have to start the process a day before you plan on chowing down on fresh bagels, and there are a lot of steps, but anyone can do them. Really, give it a try!
I made a walnut honey cream cheese via a very complex process…. uh, ok…. just by combining walnuts and honey with cream cheese to taste. Very yummy.


Bagels
Makes 6 to 8 bagels
3 1/2 cups (1 pound) unbleached flour (bread or all-purpose)
3 teaspoons salt, divided
3/4 teaspoon instant yeast
1 tablespoon honey or barley malt syrup, if you’ve got it
1 cup plus 2 tablespoons water
1 teaspoon baking soda
Poppy or sesame seeds
1. By hand, mix the flour, 2 teaspoons salt, the yeast, honey and the water until the ingredients form a stiff, coarse ball of dough (about 3 minutes). If necessary, add a little more water. Let the dough rest 5 minutes.
2. Knead the dough on a lightly floured surface until the dough feels stiff yet supple, with a satiny, slightly tacky feel, 2 to 3 minutes. If the dough seems too soft or too tacky, sprinkle over just enough flour as needed.
3. Place the dough in a lightly oiled bowl, cover tightly with plastic wrap, and place it in the refrigerator for at least 1 hour and up to several hours. Keep in mind that the bagels must be shaped before proofing overnight.
4. When ready to shape the bagels, line a baking sheet with lightly greased parchment paper or a silicone baking mat.
5. Remove the dough from the refrigerator and divide it into 6 to 8 equal pieces. Form each piece into a loose, round ball by rolling it on a clean, dry work surface with a cupped hand; do not use any flour on the surface. If the dough slides around and won’t ball up, wipe the work surface with a damp paper towel and try again – the slight amount of moisture will provide enough “bite” for the dough to form a ball. When each piece has been formed into a ball, you are ready to shape the bagels.
6. Using your hands and a fair amount of pressure, roll each dough ball into a “rope” 8 to 10 inches long. (Moisten the work surface with a damp paper towel, if necessary, to get the necessary bite or friction). Slightly taper the rope at the ends so that they are thinner than the middle. Place one end of the dough between your thumb and forefinger and wrap it around your hand until the ends overlap in your palm; they should overlap by about 2 inches. Squeeze the overlapping ends together and then press the joined ends into the work surface, rolling them back and forth a few times until they are completely sealed.
7. Remove the dough from your hand and squeeze as necessary to even out the thickness so that there is a 2-inch hole in the center. Place the bagel on the prepared sheet pan. Repeat with the other pieces. Lightly wipe the bagels with oil, cover with plastic wrap and place in the refrigerator overnight.
8. Remove the bagels from the refrigerator 90 minutes before you plan to bake them. Fill a large stockpot with 3 quarts of water (be sure the water is at least 4 inches deep), cover with a lid, and slowly bring the water to a boil. When it comes to a boil, add the remaining teaspoon of salt and 1 teaspoon of baking soda, reduce the heat and simmer with the lid on.
9. Thirty minutes before baking, heat the oven to 500 degrees.
10. Test the bagels by placing one in a bowl of cold water. If it sinks and doesn’t float to the surface, return it to the sheet, wait 15 minutes and then test it again. When one bagel passes the float test, they are ready for the pot.
11. Gently lift each bagel and drop it into the simmering water. Add as many as will comfortably fit in the pot. After 1 minute, use a slotted spoon to flip each bagel over. Poach for an extra 30 seconds. Using the slotted spoon, remove each bagel and return it to the lined baking sheet. Continue until all the bagels have been poached. Generously sprinkle each bagel with a topping.
12. Place the baking sheet in the oven and reduce the heat to 450 degrees. Bake for 8 minutes and then rotate the sheet (if using two sheets, also switch their positions). Check the underside of the bagels. If they are getting too dark, place another sheet under the baking sheet. Bake until the bagels are golden brown, an additional 8 to 12 minutes. Remove from the oven and transfer the bagels to a rack for at least 30 minutes before serving.
I found this recipe a la The Wednesday Chef. She’s got photos of the whole process over on her blog. I would suggest doubling the recipe just so that you don’t have to go through all that effort for 6 bagels. You can always freeze the extras. Happy Bageling!
Luv,
Kristy
p.s. I am now obsessed with making all things that include the ingredient “flour” from scratch. Tonight I made my own tortillas for taco night.
photographs by me, Kristy Joy Carlson.
 I don’t know what it’s like to cook with your kids, but cooking with my two boys is like directing a herd of elephants across a highway in busy traffic. It’s impossible to control, someone’s bound to get hurt, and something will break. Because cooking with them is like a full contact sport, and often involves a kitchen that looks like it was struck by a hurricane afterwords, there are certain rules of the kitchen that we must be abide by.